Create a Pendant Necklace with Your Photos

Instructions
I printed my images from my home printer in a black and white style onto white cardstock.
You could also use color photos, fabric, or postcards. Really, just about anything.
Before printing, measure the size of your glass tile and print it to the same size. Simple photos work best. Since they are so small, details can get lost.
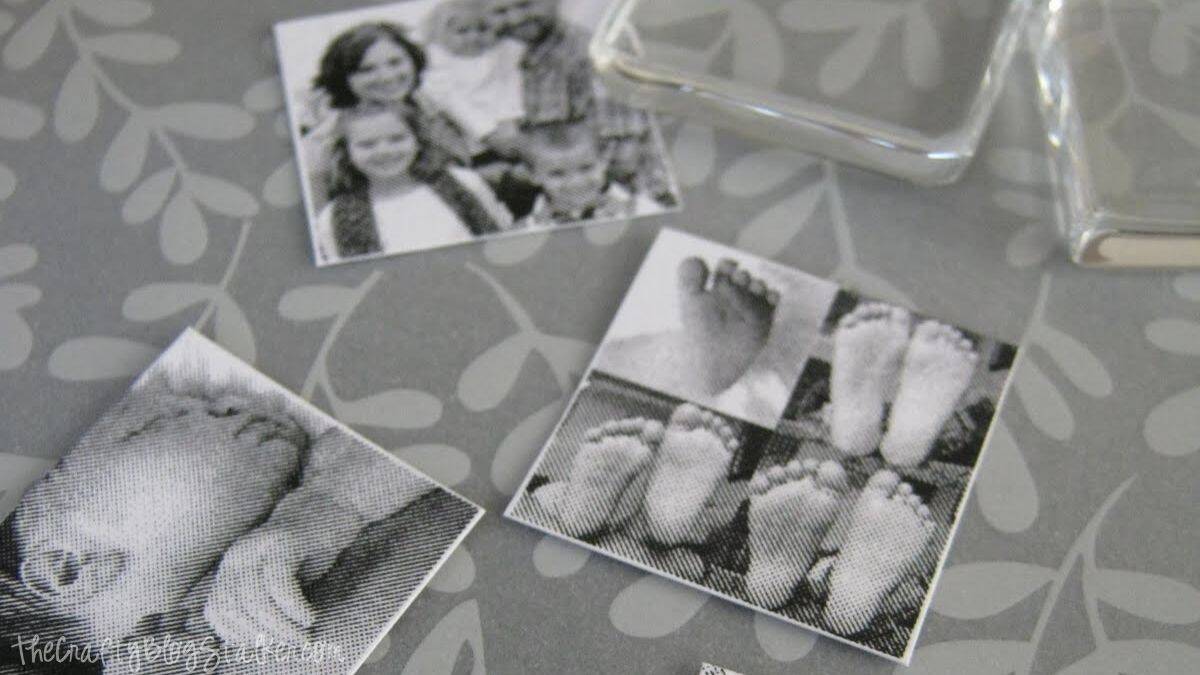
Trim the photos with a paper cutter so they’re nice and straight.
Place a tiny drop, about a pea-sized amount, of the Diamond Glaze on your tile.
You don’t want too much because then it will ooze out when placing the photo on top, but you want enough to cover the entire image.
While the Diamond Glaze is still wet, set your picture face down on your tile, and press the two together.
Rub the back of your paper to get a good seal.
If you do have a lot of excess, you can wipe it up with a Q-tip.
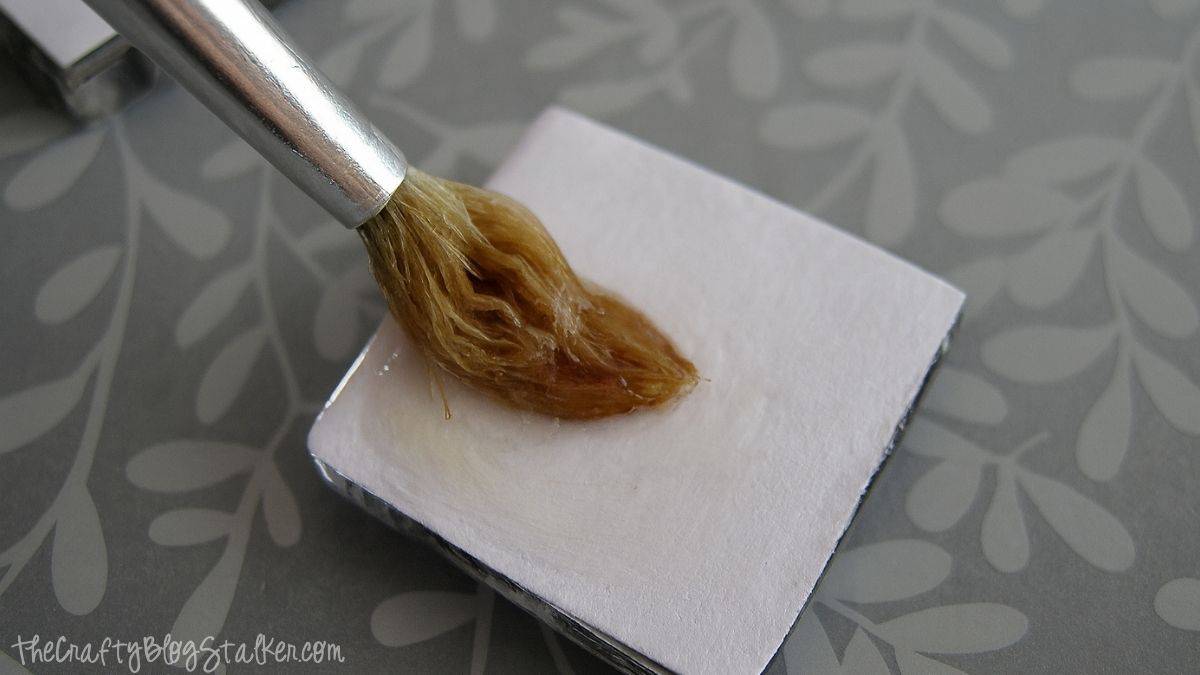
Let it dry for 5-10 minutes, and apply some Diamond Glaze to the back of the photo.
Spread the glaze out with a brush to seal your paper, and let it dry for several hours.
")


